


Above and beside you will see the pictures of my 1st two pieces. Oh boy, I was so proud of them both.....but now looking at them, pride still stands but so does the knowledge that I have so much to learn.
Of course, these are not quite the same as the tutorial in the book....they have some serious issues.....which I am not going to define....but how precious they are to me. From this start, I am going to learn how to improve my techniques. Thanks to Barb Suss and the Group.
In winter 2015 I joined an online group....Temari Challenge....and began in seriousness to jump in with both feet and join a group effort of Beginning KIKU HERRINGBONE Temari Part 1 and 2. Part 1 was the easiest of both, thank goodness. We learned how to measure the size of the ball (23cm) before the guideline was applied, how to mark the distance between North and South Poles, and then around theEquator, into as close as possible equal distances, No easy task....but not deterring me. Guidelines placed using sparkling purple crochet cotton.....lovely choices for a beginner.
Finally to the fun part after several times moving the pins around to get the measurement set up correctly. After this part the actual stitching directions have been read and finished......looks good black background with light green and turquoise stitching. Now to complete the south side of my globe......then away we go......to Part 2.
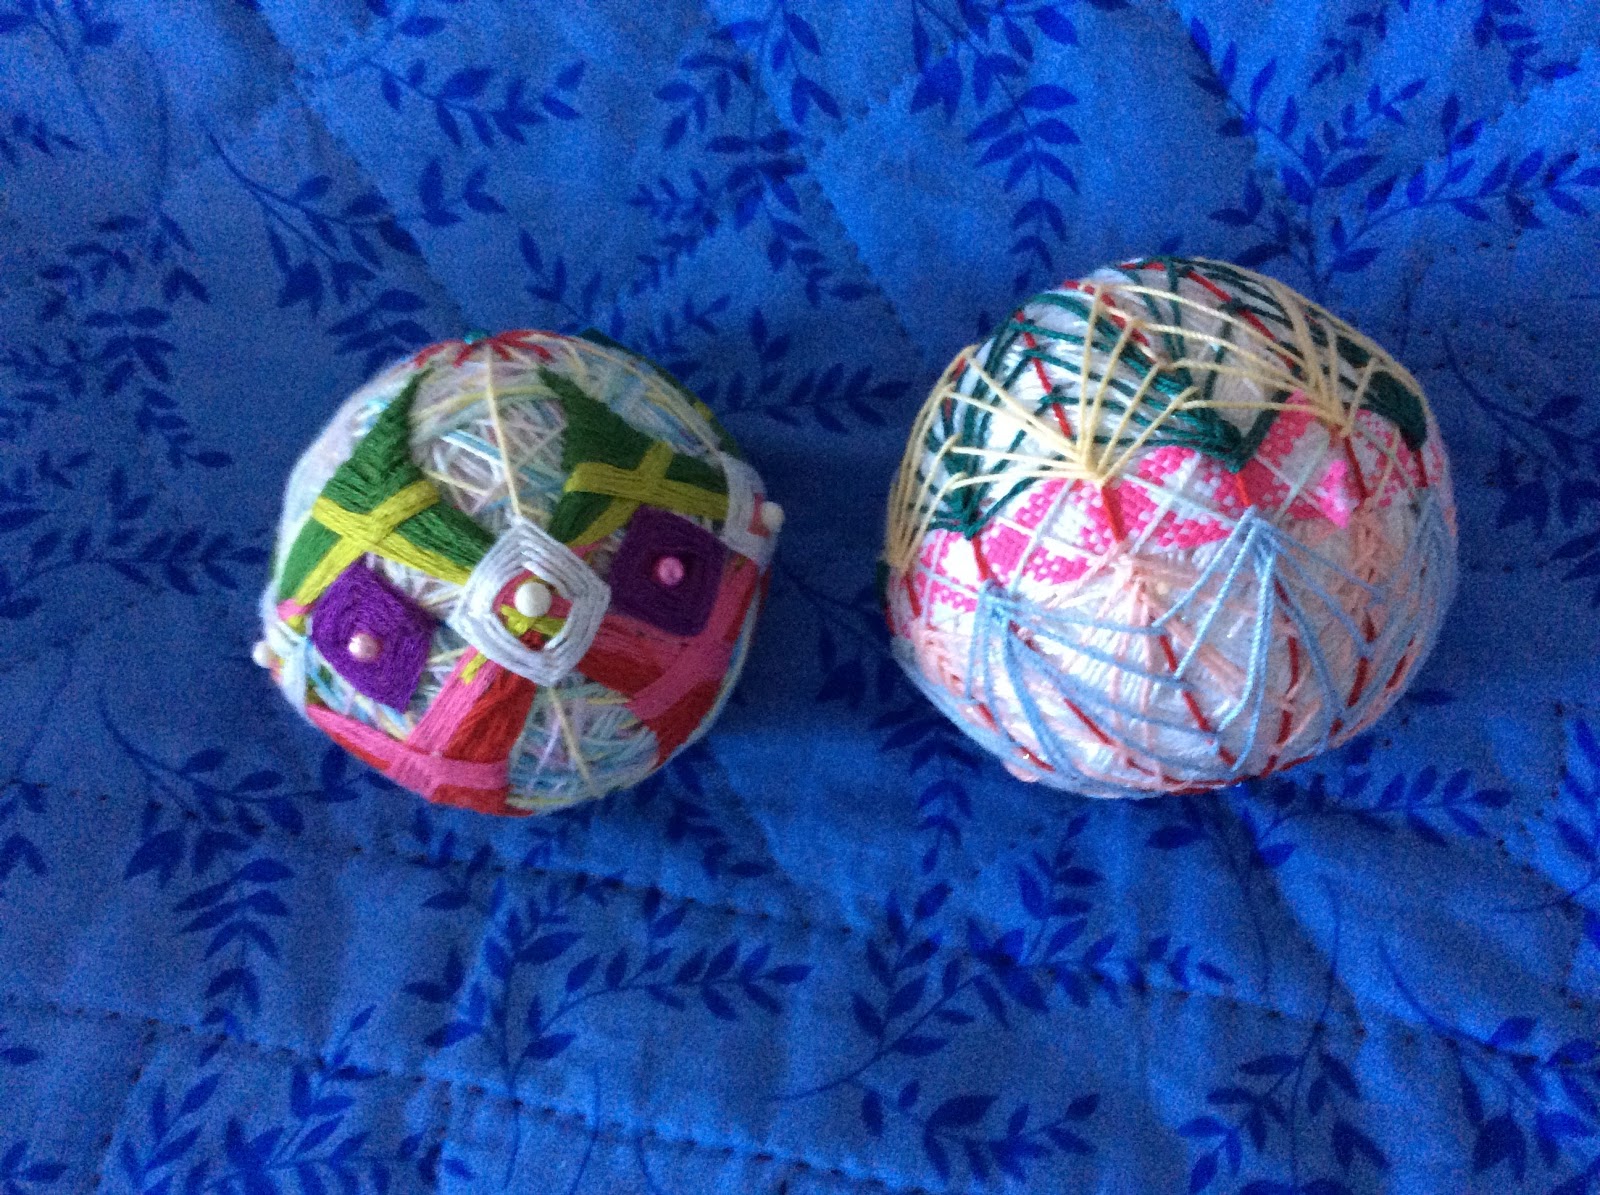
 BEGINNING KIKU HERRINGBONE PART 2 (size 32-33cm). The larger one of the two in the photo.
Wrapped this with a fancy wool I used in embellishing.....spots of red. olive. white and mauve, quite colourful and lively. Guidelines in a bright red. thread colours are blends of .....This Temari must have tired me right out because I put it away after the North Pole part was finished. The bottom section waited until April 2017. I have almost finished. And ready to work further with the Group for our next challenge. Follow my ongoing journey as I move forward. This is April 11, 2017, and I pick up the craft again.
Date: April 11, 2017 History to date 2005-6
Comments
Post a Comment